Irresistible Sno Ball Brownies Recipe: Fudgy, Nostalgic Bliss
Decadent sno ball brownies promise a nostalgic twist on classic dessert memories.
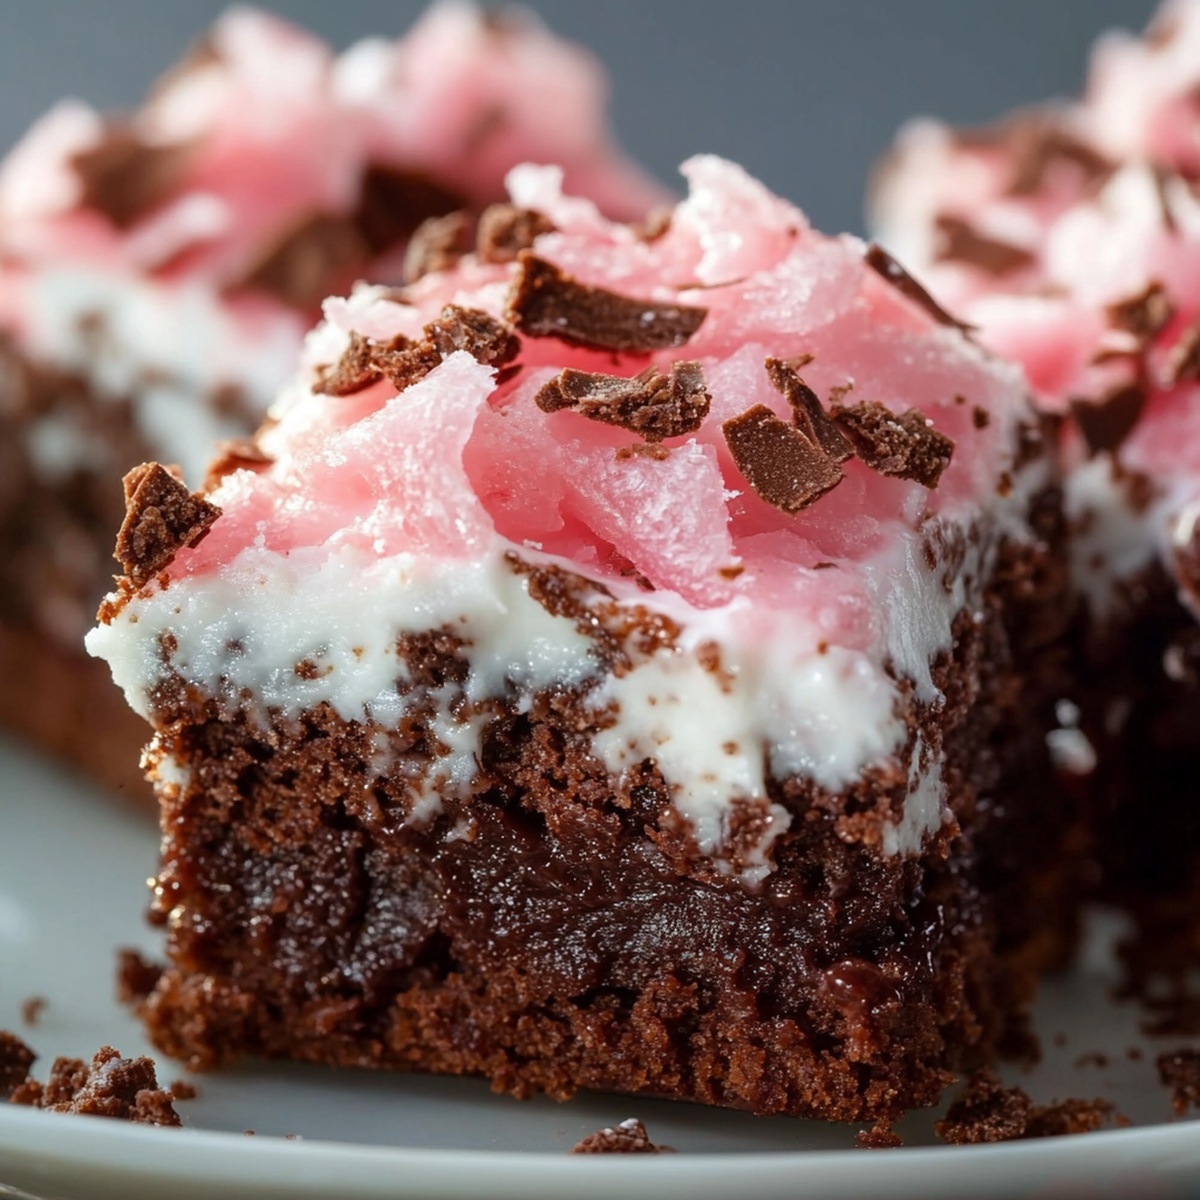
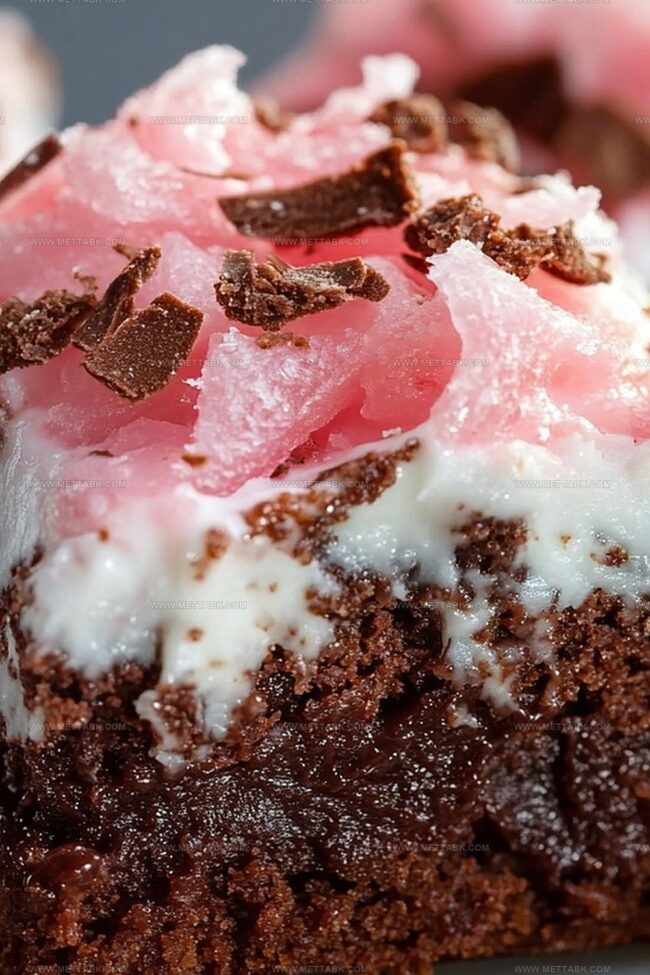
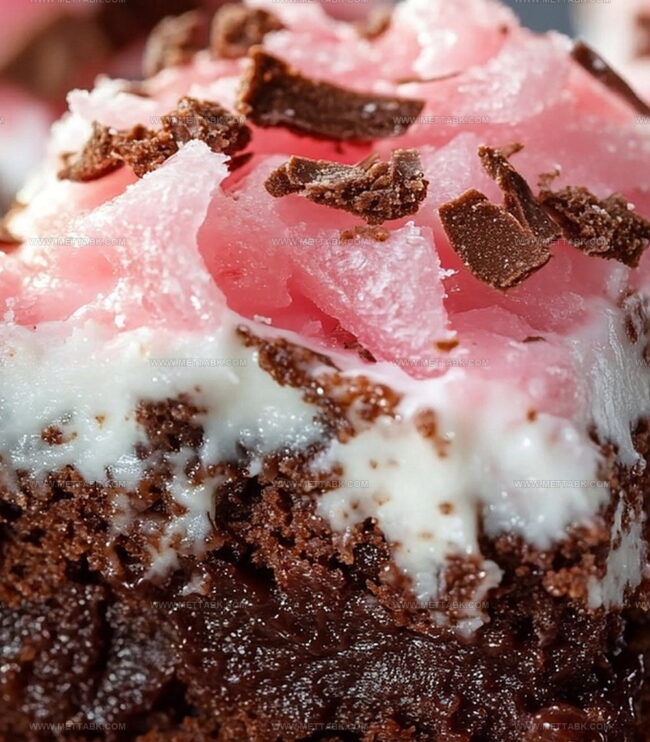
Marshmallow clouds dance atop rich chocolate landscapes waiting to surprise you.
Coconut transforms these treats into playful confections that spark childhood joy.
Soft pillowy textures contrast against dense fudgy brownie foundations.
Sweet layers merge unexpected flavors into one delightful bite.
Chocolate lovers will find unexpected magic in this whimsical recipe.
You can easily craft these delightful squares that blend comfort and creativity.
Delicious Sno Ball Brownies That Bring Fun to Dessert
Ingredients for Soft and Chewy Sno Ball Brownies
Base Ingredients:Flavor Enhancers:Coating and Topping:How to Bake Delicious Sno Ball Brownies Perfectly
Step 1: Warm Up The Oven
Crank the oven to a toasty 350°F and grab an 8-inch square baking pan. Give the pan a quick spray or butter rub to prevent any sticky situations.
Step 2: Mix Dry Ingredients
Grab a medium bowl and whisk together:Make sure everything looks smooth and combined.
Step 3: Create Wet Mixture
Melt the butter until it’s silky smooth.
Crack in the eggs and splash of vanilla. Stir until everything looks beautifully blended.
Step 4: Combine Wet and Dry
Pour the wet ingredients into the dry ingredients. Stir gently until just mixed – don’t overmix or your brownies will get tough.
Step 5: Add Chocolate Magic
Softly fold in chocolate chips. This will create delightful pockets of melty goodness throughout the brownies.
Step 6: Bake To Perfection
Transfer the batter into the prepared pan. Slide into the preheated oven and bake for 25-30 minutes.
Check doneness by inserting a toothpick – it should come out with a few moist crumbs.
Step 7: Create Coconut Coating
In a shallow dish, mix powdered sugar and coconut flakes until well combined.
Step 8: Final Transformation
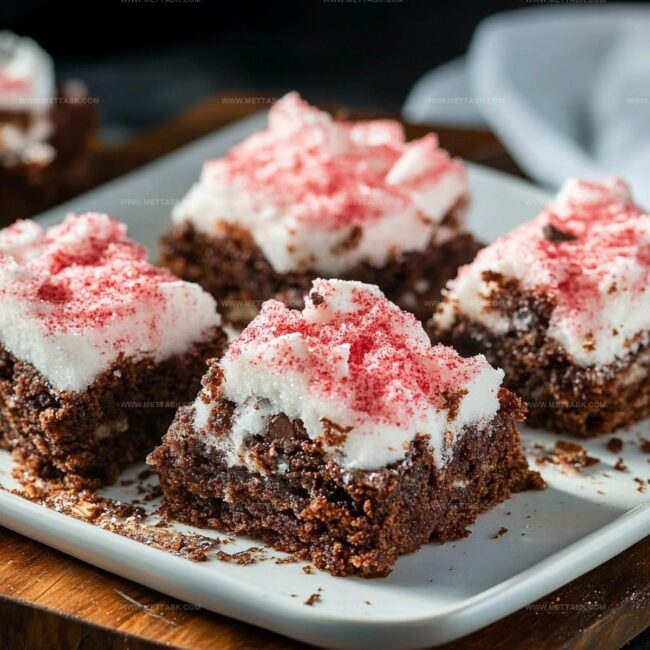
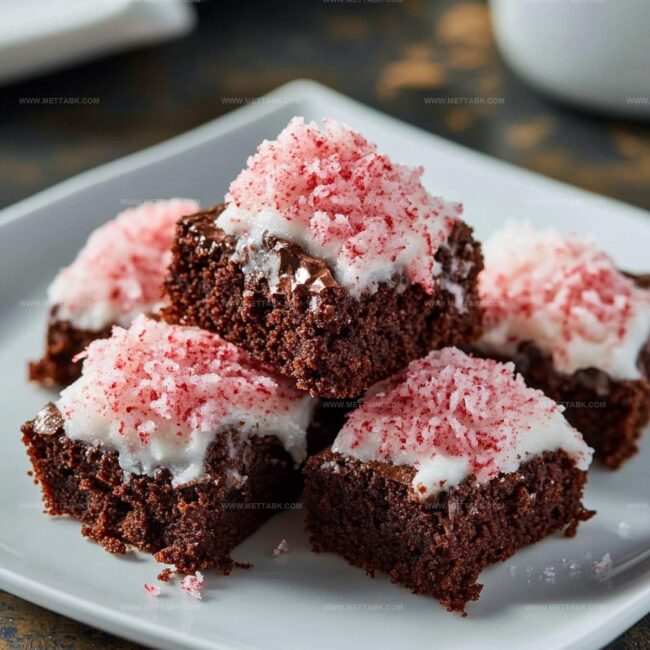
Once brownies are cooled, slice into squares. Roll each square in the coconut mixture, creating a dreamy snow-like exterior.
Step 9: Serve And Enjoy
Plate these heavenly Sno Ball Brownies and watch everyone’s eyes light up with pure delight!
Tips for Moist and Flavorful Sno Ball Brownies Every Time
Creative Variations on Sno Ball Brownies to Explore
Pairings That Go Well with Sno Ball Brownies
How to Keep Sno Ball Brownies Fresh and Delicious
FAQs
A decadent chocolate brownie coated with sweet coconut flakes, inspired by the classic Hostess Sno Ball dessert, offering a homemade twist on the beloved treat.
Most ingredients are common pantry staples like cocoa powder, flour, sugar, butter, eggs, and vanilla, with chocolate chips and coconut flakes adding extra flavor and texture.
Yes, simply substitute the all-purpose flour with a gluten-free flour blend to create a similar texture and taste for those with dietary restrictions.
Print
Sno Ball Brownies Recipe
- Total Time: 40 minutes
- Yield: 12 1x
Description
Sno Ball brownies blend nostalgic chocolate treats with classic Mexican coconut confections. Rich chocolate bases topped with marshmallow and pink coconut shavings deliver a playful dessert experience you will crave again and again.
Ingredients
- 1/2 cup unsweetened cocoa powder
- 1 cup granulated sugar
- 1/2 cup unsalted butter (113 g), melted
- 2 large eggs
- 1/2 cup all-purpose flour
- 1 tsp vanilla extract
- 1 cup sweetened coconut flakes
- 1/2 cup semi-sweet chocolate chips
- 1/2 cup powdered sugar
Instructions
- Warm the oven to 350°F and prepare an 8-inch square baking dish with a light grease coating.
- Combine cocoa powder, flour, granulated sugar, and salt in a mixing bowl, whisking thoroughly to eliminate any lumps.
- Gently melt butter and incorporate eggs and vanilla extract, stirring until smooth and well-blended.
- Pour the liquid mixture into dry ingredients, stirring carefully until just incorporated; avoid overmixing.
- Softly fold chocolate chips into the batter, distributing them evenly throughout.
- Transfer the batter into the prepared pan, spreading it uniformly with a spatula.
- Bake for 25-30 minutes, monitoring until a toothpick inserted near the center reveals moist crumbs.
- Allow brownies to cool completely in the pan for approximately 15-20 minutes.
- Create a coating mixture by combining powdered sugar and coconut flakes in a shallow dish.
- Cut cooled brownies into square portions.
- Delicately roll each brownie square in the coconut mixture, ensuring complete coverage.
- Arrange coated brownies on a serving plate and enjoy the decadent treat.
Notes
- Soften butter slightly before mixing for smoother batter consistency and easier blending.
- Use high-quality dark cocoa powder for richer, more intense chocolate flavor that elevates the entire dessert.
- Toast coconut flakes briefly before coating to enhance nutty, caramelized undertones and create more depth in the final texture.
- For gluten-free version, substitute all-purpose flour with almond or coconut flour, ensuring careful measurement to maintain brownie structure.
- Prep Time: 15 minutes
- Cook Time: 25 minutes
- Category: Desserts, Snacks
- Method: Baking
- Cuisine: American
Nutrition
- Serving Size: 12
- Calories: 210 kcal
- Sugar: 18 g
- Sodium: 75 mg
- Fat: 11 g
- Saturated Fat: 6 g
- Unsaturated Fat: 4 g
- Trans Fat: 0.2 g
- Carbohydrates: 28 g
- Fiber: 2 g
- Protein: 3 g
- Cholesterol: 35 mg
Clara Bennett
Contributing Recipe Developer & Food Writer
Expertise
Baking and Pastry Development, Gluten-Free and Allergy-Friendly Recipe Creation, Culinary Storytelling and Food Journalism, Recipe Testing and Standardization, Southern Comfort Foods and Modern Twists
Education
Sullivan University – National Center for Hospitality Studies
Associate Degree in Culinary Arts
Focus: Baking and Pastry Arts, Recipe Testing, and Culinary Journalism.
Clara specialized in crafting desserts that blend classic Southern comfort with modern techniques, while developing strong writing skills to tell the story behind every dish.
Lane Community College (Certificate Program)
Certificate in Food Writing and Photography
Focus: Culinary storytelling, recipe formatting, food styling, and visual presentation.
Clara’s love of baking started young, powered by homemade pies, biscuits, and stories passed around the family table.
After earning her degree at Sullivan University and a food writing certificate at Lane Community College, she turned her passion into a craft: sharing recipes that are simple, soulful, and always full of heart.
She’s big on bold flavors, flexible ideas, and creating sweets that fit any table (yes, even if you’re gluten-free). When she’s not baking, you’ll find her wandering farmers’ markets, styling food for the next photo shoot, or working on her ever-growing recipe journal.