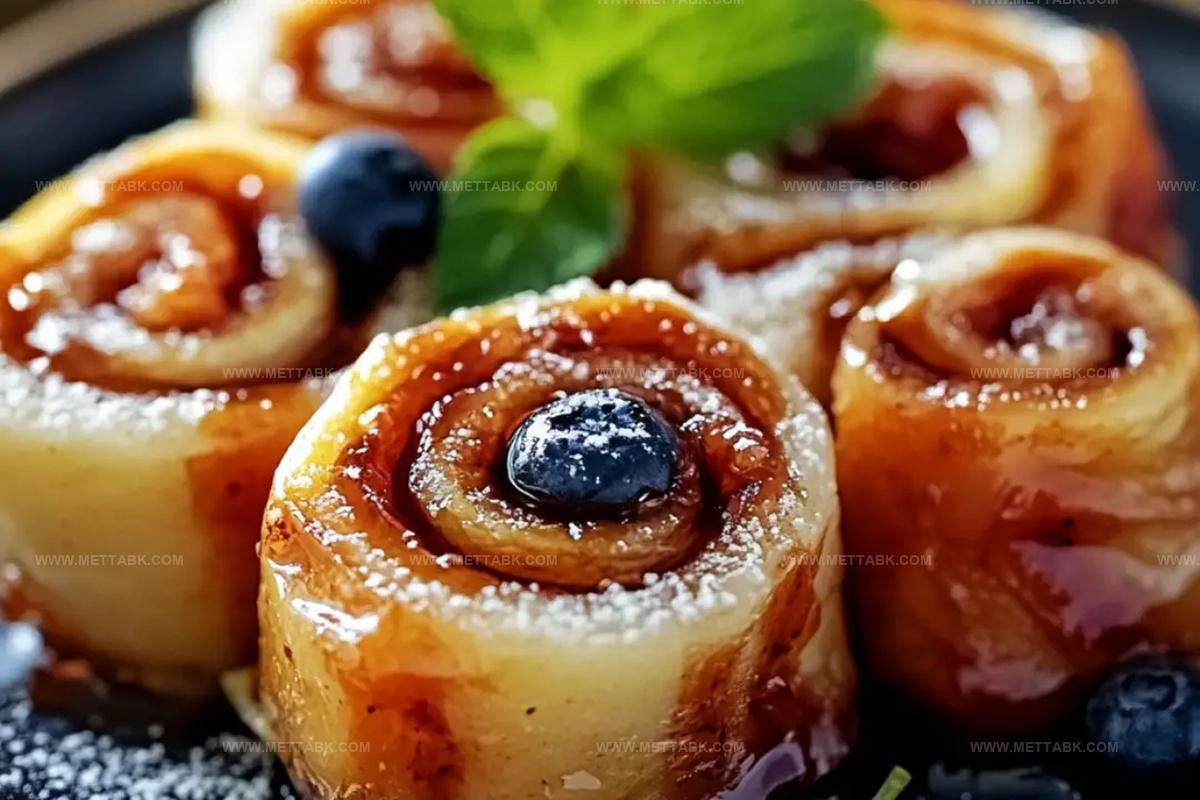
Dreamy Roll-Ups Recipe That’s Quick & Fun for Any Occasion
Roll-ups have become my unexpected culinary obsession lately.
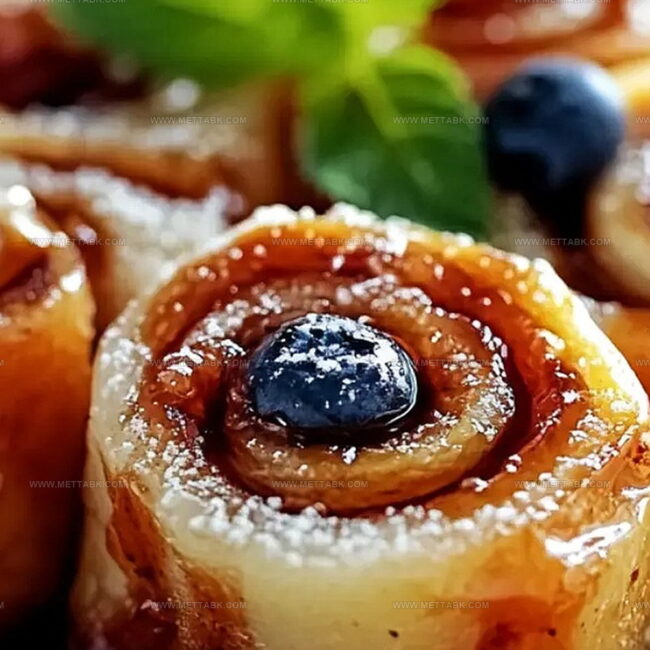
Crispy edges and soft centers make these little delights irresistible.
Wrapping ingredients with precision creates magic in every bite.
My kitchen experiments always spark unexpected flavor combinations.
Simple techniques unlock incredible potential for home cooks.
Delicate textures and bold seasonings dance together beautifully.
The Roll-Ups That Will Wow Your Taste Buds Every Time
Ingredients to Make Flavorful Roll-Ups
For the Dough:For the Coating and Frying:For the Finishing Touches:Step-by-Step Roll-Up Assembly
Step 1: Unroll and Shape Dough
Open the cinnamon roll package and carefully unroll each roll. Gently roll the dough into tight logs, then use a rolling pin to flatten them slightly.
Slice each flattened roll into 3-4 bite-sized segments.
Step 2: Create Egg Mixture
Whisk together in a shallow bowl:Step 3: Mix Cinnamon Sugar Coating
Combine in a separate shallow bowl:Stir until well mixed.
Step 4: Fry and Coat Roll-Ups
Dunk each dough piece into the egg mixture, ensuring complete coverage. Heat butter in a pan over medium heat.
Carefully fry the roll-ups for 2-3 minutes per side until they turn golden and crispy. Immediately transfer to the cinnamon sugar mixture, coating thoroughly.
Step 5: Add Delicious Drizzle
Generously drizzle the included cinnamon roll icing over the fried roll-ups. For a homemade touch, prepare your own icing if preferred.
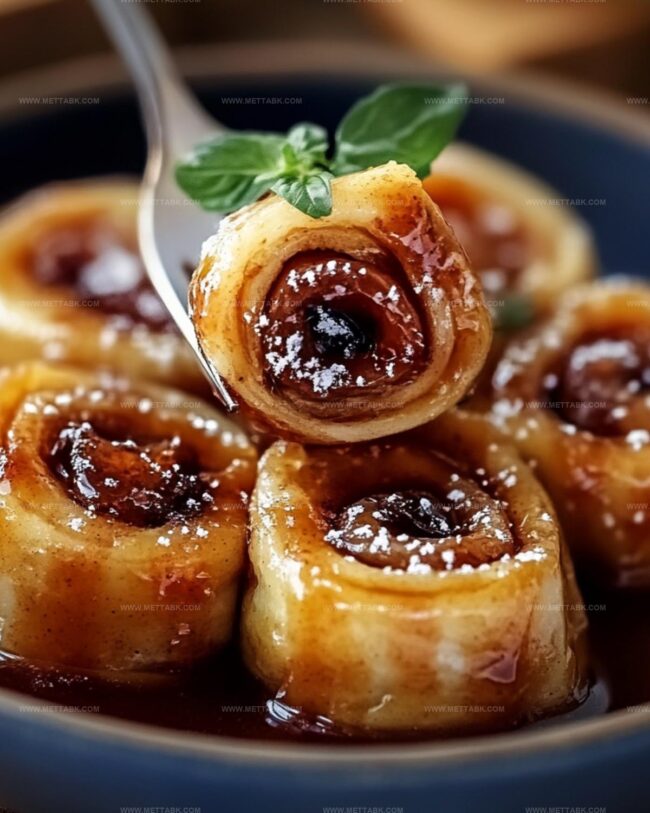
Step 6: Serve and Indulge
Place the roll-ups on a serving plate. Sprinkle with powdered sugar or top with:Serve piping hot and enjoy the crispy, sweet sensation!
Tips to Perfect Your Roll-Ups
Variations to Keep It Interesting
Pairings That Go Great With Roll-Ups
How to Store Roll-Ups Properly

Store leftover roll-ups in an airtight container for up to 3 days. Place parchment paper between layers to prevent sticking.
Wrap individual roll-ups tightly in plastic wrap, then place in a freezer-safe bag. Freeze for up to 1 month to maintain optimal flavor and texture.
Preheat oven to 350°F. Arrange roll-ups on a baking sheet, cover with foil to prevent drying. Warm for 8-10 minutes until heated through.
Place roll-ups on a microwave-safe plate. Heat in 15-second intervals, checking to avoid overcooking. Add a small splash of water to maintain moisture and prevent toughness.
FAQs
No, these roll-ups are surprisingly easy to prepare. With basic ingredients and simple steps, even beginner cooks can create this delicious treat quickly.
Yes, homemade dough works perfectly. Just ensure the dough is soft and pliable enough to roll and flatten easily.
A non-stick skillet or cast-iron pan works best. They provide even heat distribution and help achieve a crispy golden-brown exterior without sticking.
Print
The Roll-Ups Recipe
- Total Time: 25 minutes
- Yield: 8 1x
Description
Cheesy Spinach Roll-Ups deliver Mediterranean comfort with a delightful twist of fresh herbs and creamy cheese. Crisp golden edges and rich flavors invite hungry guests to savor each delectable bite of this simple yet impressive appetizer.
Ingredients
Main Ingredients:
- 8 slices white bread
- 2 cans (8 ounces/226 grams each) cinnamon roll dough with icing
- 3 large eggs
Liquid and Flavoring Ingredients:
- 1/2 cup (120 milliliters) milk
- 1/2 teaspoon vanilla extract
- 1/4 teaspoon ground cinnamon
- 1/4 cup (56 grams) butter
Coating and Sweet Topping:
- 1/4 cup (50 grams) granulated sugar
- 1 tablespoon ground cinnamon
Icing:
- Included icing from cinnamon roll dough (or homemade icing)
Instructions
- Carefully unroll cinnamon roll dough from the can, stretching each piece gently to create a flat surface.
- Use a rolling pin to thin out the dough, expanding its dimensions and creating a more uniform texture.
- Slice each flattened dough piece into compact, bite-sized segments, aiming for 3-4 pieces per roll.
- Whisk eggs, milk, vanilla, and ground cinnamon in a shallow bowl until thoroughly combined and smooth.
- Mix granulated sugar and additional ground cinnamon in a separate container, creating a fragrant coating mixture.
- Submerge each dough segment completely in the egg mixture, ensuring total coverage on all surfaces.
- Heat butter in a skillet over medium temperature (around 350°F), allowing it to melt and create a golden cooking surface.
- Carefully place egg-coated dough pieces into the hot skillet, frying for 2-3 minutes until achieving a rich, caramelized exterior.
- Flip each piece to cook evenly, watching for a uniform golden-brown color and crispy edges.
- Immediately transfer fried segments into the cinnamon-sugar mixture, rotating to coat thoroughly and generously.
- Drizzle prepared icing across the roll-ups, allowing it to cascade and create an enticing presentation.
- Arrange on a serving plate, optionally garnishing with a light dusting of powdered sugar or fresh berries for added visual appeal.
- Serve immediately while warm, ensuring maximum flavor and textural enjoyment.
Notes
- Choose soft, pliable cinnamon roll dough for easier rolling and better texture.
- Flatten dough gently to avoid tearing or creating holes during the rolling process.
- Ensure butter is at medium heat to prevent burning and achieve perfect golden-brown color.
- Keep roll-ups bite-sized for easier handling and more even cooking.
- Pat excess egg wash off before frying to prevent splattering and maintain crisp exterior.
- Use a non-stick pan to minimize sticking and make flipping easier.
- Allow roll-ups to cool slightly before drizzling icing to prevent immediate melting.
- Experiment with different spices like nutmeg or cardamom in the sugar coating for unique flavor variations.
- Make ahead and reheat in oven for crispy texture if preparing in advance.
- Prep Time: 15 minutes
- Cook Time: 10 minutes
- Category: Breakfast, Lunch, Snacks, Appetizer
- Method: Frying
- Cuisine: American
Nutrition
- Serving Size: 8
- Calories: 430 kcal
- Sugar: 17 g
- Sodium: 380 mg
- Fat: 22 g
- Saturated Fat: 13 g
- Unsaturated Fat: 7 g
- Trans Fat: 0.5 g
- Carbohydrates: 47 g
- Fiber: 1 g
- Protein: 8 g
- Cholesterol: 115 mg
Nate Harper
Founder & Recipe Curator
Expertise
Single-Recipe Development, Farm-to-Table Cooking, Seasonal Menu Planning, Culinary Storytelling, Home Kitchen Innovation
Education
Cascade Culinary Institute – Central Oregon Community College
Certificate in Culinary Arts
Focus: Farm-to-table cuisine, sustainable cooking practices, and seasonal recipe creation.
Nate studied under experienced chefs who emphasized local sourcing, minimal waste, and building recipes from fresh, simple ingredients.
Nate Harper is the founder and creative force behind Make, Take, Bake. Raised in the wild beauty of Oregon’s high desert, Nate grew up surrounded by family gardens, farmers’ markets, and home kitchens that celebrated the seasons.
His early love for simple, honest food evolved into a professional passion when he attended Cascade Culinary Institute, where he sharpened his skills in creating recipes that are sustainable, satisfying, and made for everyday life.
Nate’s goal is to make cooking feel accessible, free of fuss, and full of flavor. He believes a single, thoughtfully built dish can stand alone, and sometimes even steal the show.