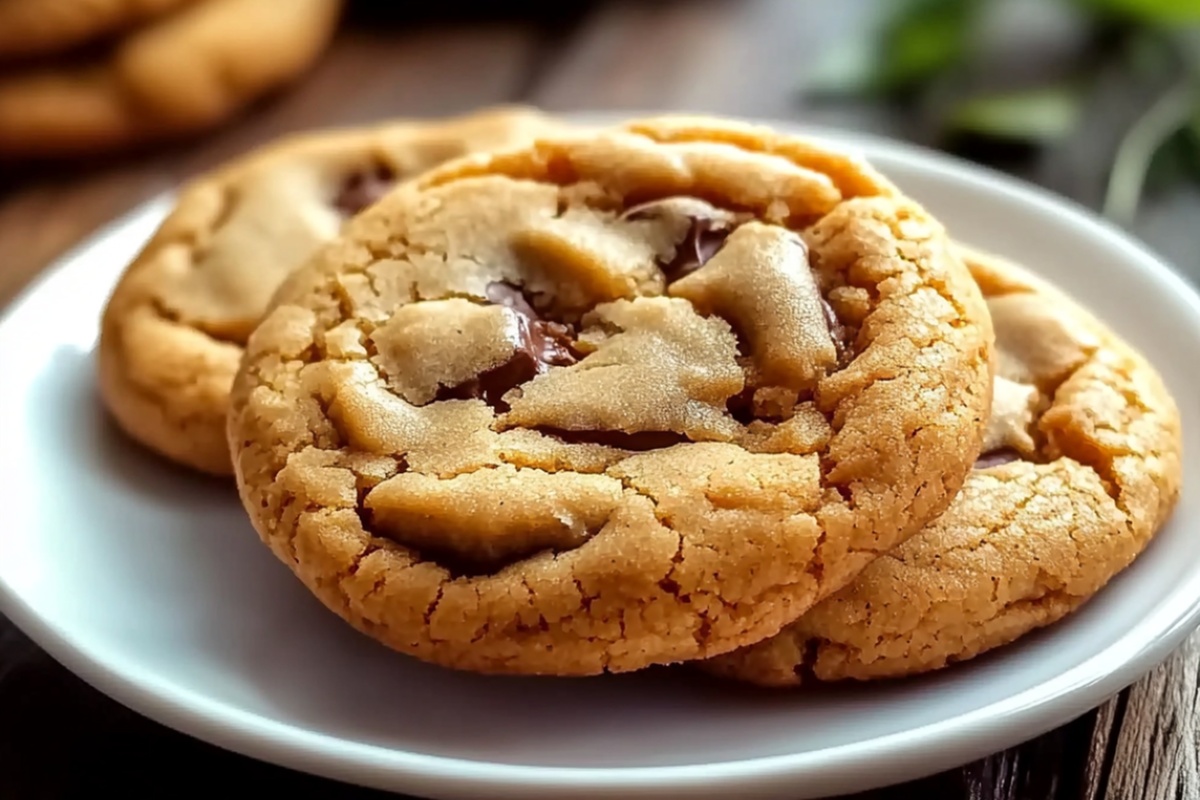
The Ultimate Thick and Chewy Peanut Butter Cookies Recipe
Crafting the perfect thick and chewy peanut butter cookies requires a delightful blend of culinary passion and smart baking techniques.
Soft, rich cookie dreams start with quality ingredients that promise mouthwatering results.
Passionate bakers understand how simple steps can create extraordinary treats.
Mixing creamy peanut butter with carefully measured dry components ensures remarkable texture and deep flavor.
Each carefully crafted batch promises a sensational experience that connects comfort with deliciousness.
Crisp edges and tender centers make these cookies irresistible for anyone seeking a classic sweet indulgence.
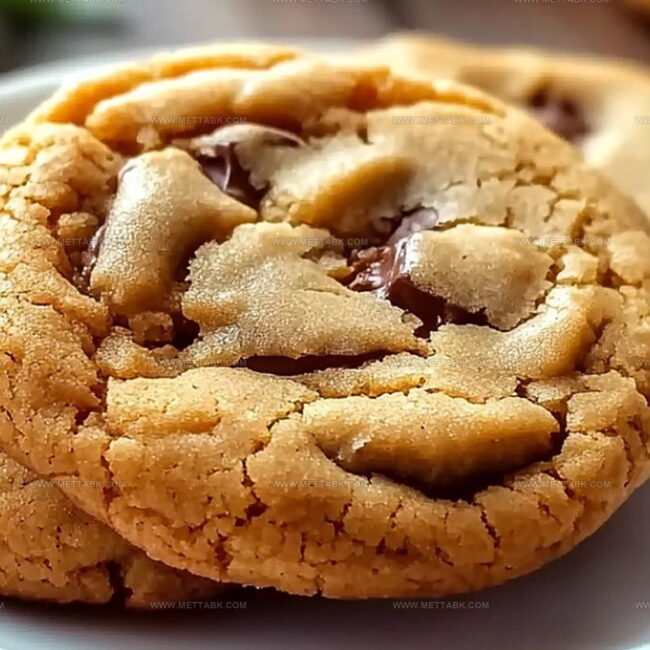
Peanut Butter Cookies That Stay Chewy Inside
Everything in These Thick Peanut Butter Cookies
For the Fats:For the Sweeteners:For the Binding and Flavor Enhancers:For the Dry Ingredients:How to Make These Chewy Cookies Step by Step
Step 1: Warm Up the Oven
Crank your oven to a toasty 350°F (175°C). Cover a baking sheet with parchment paper for easy cleanup and non-stick magic.
Step 2: Create a Creamy Base
Grab a spacious mixing bowl and combine these delightful ingredients:Whip these together until they transform into a fluffy, cloud-like mixture that looks absolutely irresistible.
Step 3: Introduce Eggs and Flavor
Add eggs one at a time, blending thoroughly after each addition.
Pour in vanilla extract and mix until the batter looks smooth and inviting.
Step 4: Prepare Dry Ingredients
In a separate bowl, mix these powdery companions:Whisk them together until they’re perfectly blended.
Step 5: Merge Wet and Dry Worlds
Slowly fold the dry ingredients into the wet mixture. Stir gently to create a soft, cohesive dough.
Stop mixing as soon as everything looks combined to keep the cookies tender.
Step 6: Shape Cookie Masterpieces
Scoop out generous spoonfuls of dough and roll into balls.
Arrange them on the baking sheet with some breathing room between each cookie. Use a fork to press down gently, creating those classic crisscross patterns that make peanut butter cookies so recognizable.
Step 7: Bake to Golden Perfection
Slide the baking sheet into the oven and bake for 10-12 minutes. You’re looking for golden edges with centers that still look slightly soft and pillowy.
Step 8: Cool and Devour
Let the cookies rest on the baking sheet for 5 minutes. Transfer them to a wire rack to cool completely.
Now comes the best part – grab a cookie and enjoy the melt-in-your-mouth goodness!
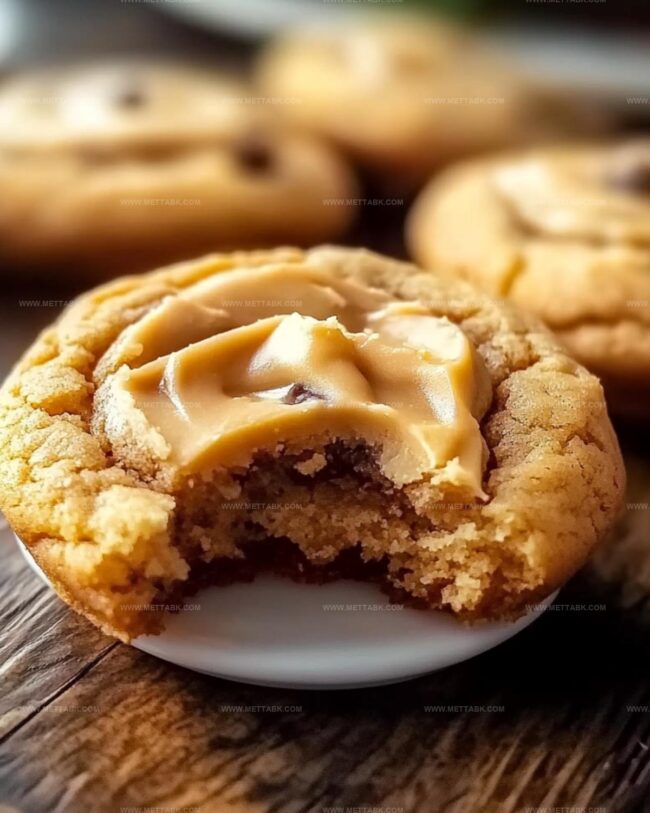
Cookie Baking Tips to Keep Centers Soft
Fun Twists on Chewy Peanut Butter Cookies
Dessert Matches With Thick Peanut Butter Cookies
How to Keep These Cookies Soft After Baking

Place cookies in an airtight container with wax paper between layers. Keep fresh for up to 5 days at 40°F or below.
Wrap individual cookies in plastic wrap, then store in freezer-safe bags. Freeze up to 3 months for maximum quality and taste.
Keep cookies in sealed container at room temperature. Consume within 3-4 days for best texture and flavor.
Warm cookies in microwave for 10-15 seconds or place in 300°F oven for 2-3 minutes to restore soft, fresh-baked warmth.
FAQs
Creaming incorporates air into the mixture, creating a light and fluffy texture that helps the cookies become soft and tender.
Natural peanut butter might make the cookies slightly less stable, so stick with traditional creamy peanut butter for the best results.
Look for golden edges and soft centers. The cookies will continue to set as they cool, so don’t overbake them.
The fork creates a classic crisscross pattern and helps the cookies spread evenly, ensuring uniform baking and a traditional cookie appearance.
Print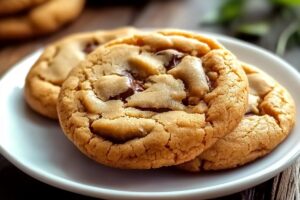
Thick And Chewy Peanut Butter Cookies Recipe
- Total Time: 27 minutes
- Yield: 24 1x
Description
Irresistible Peanut Butter Cookies bring classic comfort straight from grandma’s kitchen, melding rich nutty flavors with buttery sweetness. Crisp edges and tender centers make these treats perfect for sharing with friends and family.
Ingredients
Main Ingredients:
- 1 cup (240 ml) creamy peanut butter
- 1/2 cup (113 grams) unsalted butter, softened
- 2 large eggs
- 1 1/2 cups (180 grams) all-purpose flour
Sweeteners:
- 1 cup (220 grams) brown sugar, packed
- 1/2 cup (100 grams) granulated sugar
Leavening and Seasoning:
- 1 teaspoon baking soda
- 1/2 teaspoon baking powder
- 1/4 teaspoon salt
- 1 teaspoon vanilla extract
Instructions
- Prepare the oven environment by heating to 350F (175C) and lining a baking sheet with parchment paper for optimal cookie performance.
- In a spacious mixing bowl, vigorously blend softened butter, peanut butter, and both sugar varieties until the mixture achieves a light, airy consistency, approximately 2-3 minutes.
- Introduce eggs individually into the creamed mixture, ensuring complete integration after each addition. Incorporate vanilla extract, stirring until the mixture appears smooth and uniform.
- Create a separate mixing vessel to combine flour, baking soda, baking powder, and salt through thorough whisking, establishing a well-integrated dry ingredient base.
- Gently fold the dry ingredient mixture into the wet ingredients, carefully mixing until a cohesive, soft dough forms without excessive manipulation.
- Portion the dough into approximately 2-tablespoon spheres, strategically positioning them 2 inches apart on the prepared baking sheet. Utilize a fork to delicately imprint a classic crisscross pattern across each cookie’s surface.
- Position the cookie-laden sheet in the preheated oven, baking for 10-12 minutes until edges transform to a golden hue while maintaining soft, tender centers.
- Allow cookies to rest on the baking sheet for 5 minutes, facilitating initial stabilization, then transition to a wire rack for complete cooling and optimal texture development.
Notes
- Softened butter ensures smooth, even mixing and helps create a tender cookie texture that melts in your mouth.
- Chilling the dough for 30 minutes before baking can prevent spreading and create thicker, chewier cookies with more concentrated flavor.
- For gluten-free option, substitute all-purpose flour with almond flour or a gluten-free baking blend to accommodate dietary restrictions without compromising taste.
- Use natural peanut butter with no added sugar for a less sweet, more intense peanut flavor that allows the cookie’s richness to shine through.
- Prep Time: 15 minutes
- Cook Time: 12 minutes
- Category: Snacks, Desserts
- Method: Baking
- Cuisine: American
Nutrition
- Serving Size: 24
- Calories: 205 kcal
- Sugar: 13 g
- Sodium: 120 mg
- Fat: 14 g
- Saturated Fat: 3 g
- Unsaturated Fat: 10 g
- Trans Fat: 0.1 g
- Carbohydrates: 17 g
- Fiber: 2 g
- Protein: 6 g
- Cholesterol: 20 mg
Clara Bennett
Contributing Recipe Developer & Food Writer
Expertise
Baking and Pastry Development, Gluten-Free and Allergy-Friendly Recipe Creation, Culinary Storytelling and Food Journalism, Recipe Testing and Standardization, Southern Comfort Foods and Modern Twists
Education
Sullivan University – National Center for Hospitality Studies
Associate Degree in Culinary Arts
Focus: Baking and Pastry Arts, Recipe Testing, and Culinary Journalism.
Clara specialized in crafting desserts that blend classic Southern comfort with modern techniques, while developing strong writing skills to tell the story behind every dish.
Lane Community College (Certificate Program)
Certificate in Food Writing and Photography
Focus: Culinary storytelling, recipe formatting, food styling, and visual presentation.
Clara’s love of baking started young, powered by homemade pies, biscuits, and stories passed around the family table.
After earning her degree at Sullivan University and a food writing certificate at Lane Community College, she turned her passion into a craft: sharing recipes that are simple, soulful, and always full of heart.
She’s big on bold flavors, flexible ideas, and creating sweets that fit any table (yes, even if you’re gluten-free). When she’s not baking, you’ll find her wandering farmers’ markets, styling food for the next photo shoot, or working on her ever-growing recipe journal.