
The Best Grinch Crinkle Cookies Recipe for Holiday Charm
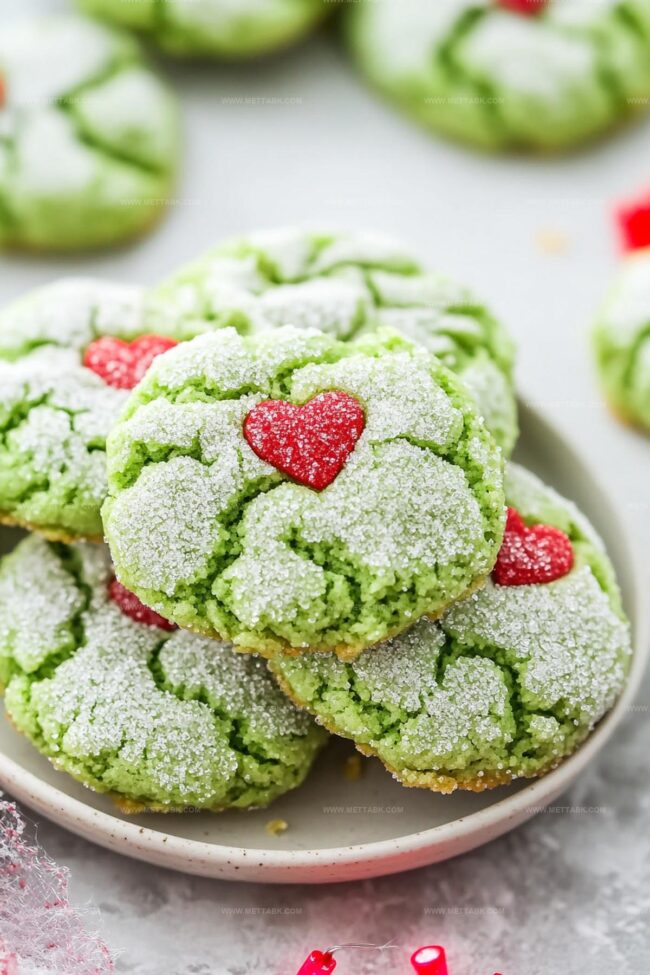
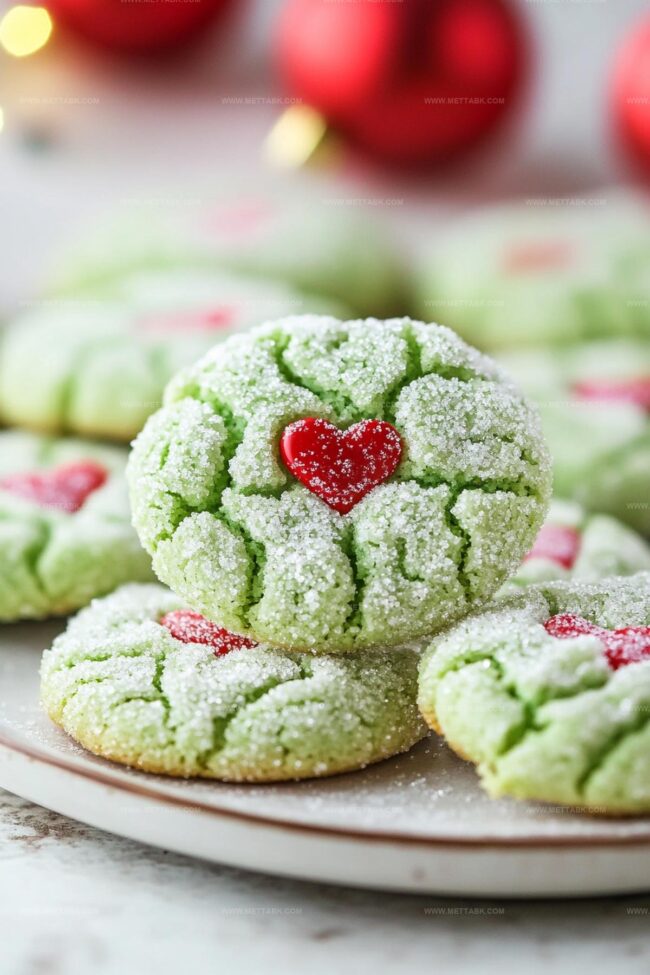
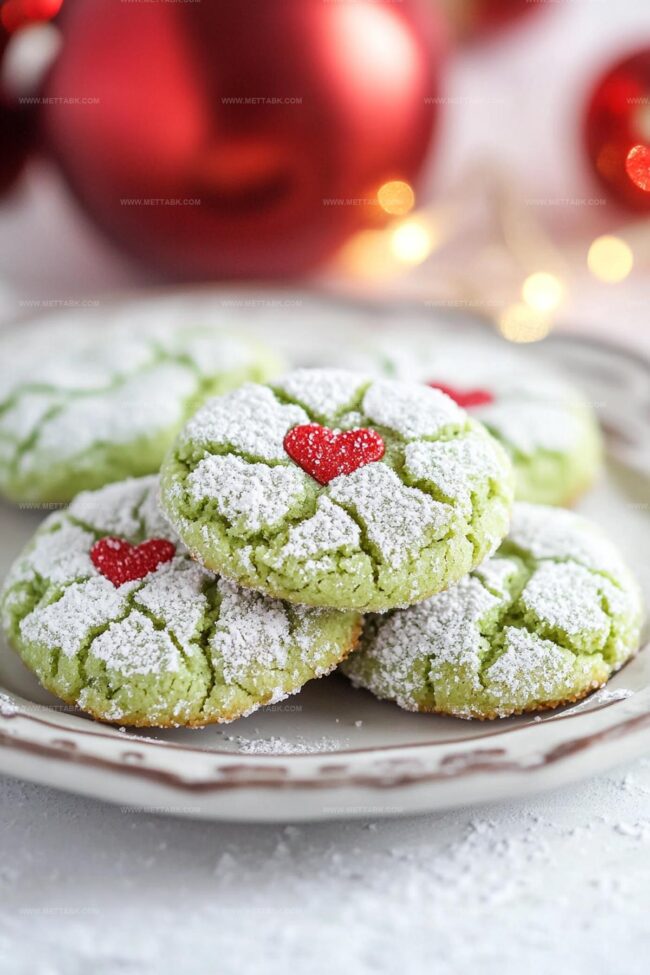
Green and gooey, these whimsical grinch crinkle cookies capture holiday magic with playful charm.
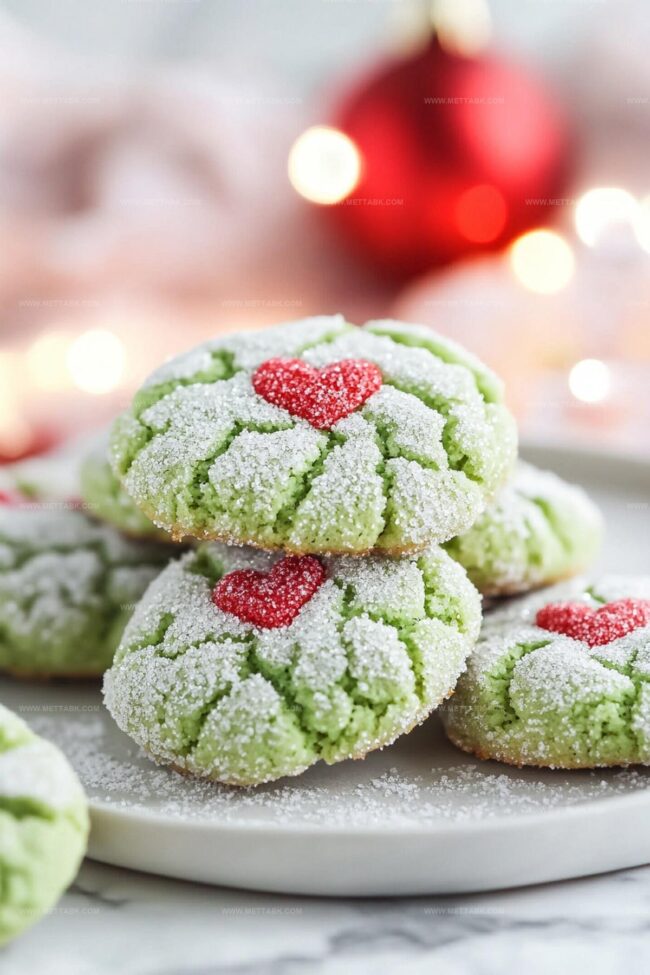
Festive bakers adore this cheerful dessert that sparkles like winter snow.
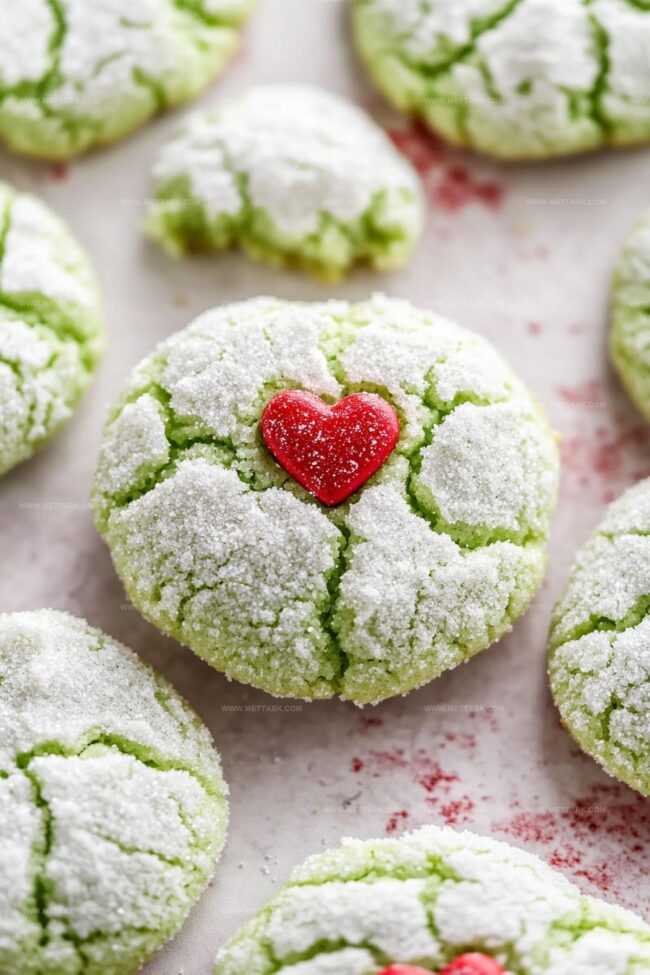
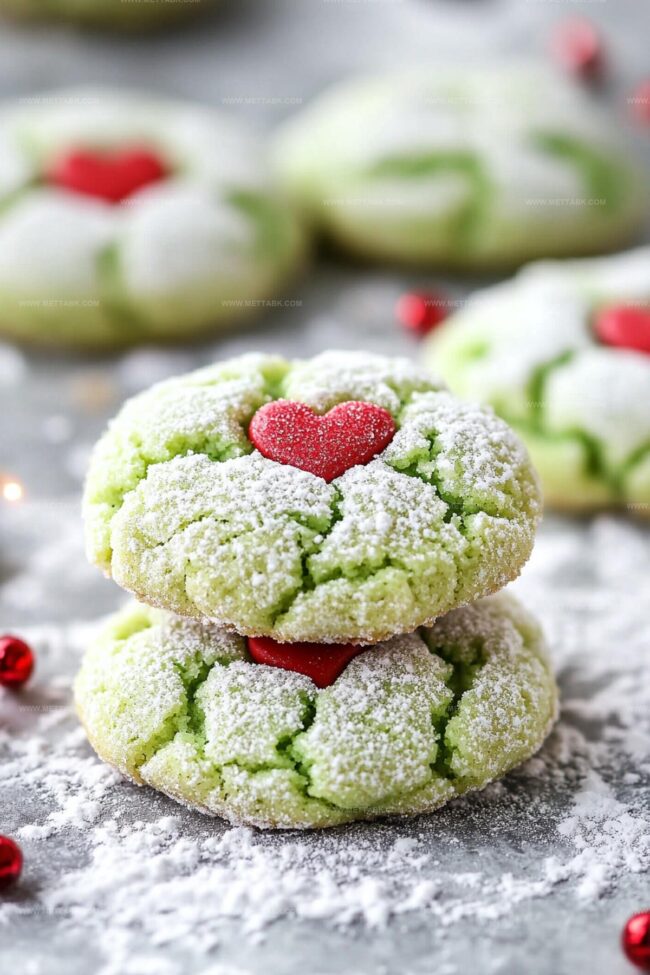
Soft powdered sugar coats each cookie, creating delightful cracks across emerald surfaces.
Kids absolutely love the quirky character-inspired treat that brings dr.
seuss stories to life.
Chocolate undertones complement the bright green coloration, making every bite feel like a merry celebration.
Sweet and nostalgic, these cookies promise to delight everyone gathering around the holiday table.
Hurry and mix the batter – winter’s most enchanting cookie awaits your creative touch!
Grinch Crinkle Cookies to Brighten the Season
Ingredients for Grinch Crinkle Cookies

How to Prepare Grinch Crinkle Cookies
Step 1: Warm Up The Oven
Crank the oven to 350 degrees Fahrenheit. Line baking sheets with parchment paper to make cleanup a breeze and prevent sticky situations.
Step 2: Mix The Magic
Grab your electric mixer and combine cake mix, vegetable oil, and eggs. Blend everything on medium speed until the mixture looks smooth and creamy.
Step 3: Create The Grinch Green
Pour in green food coloring and mix until the dough transforms into a vibrant Grinch-worthy shade of green. Keep mixing until the color is perfectly even.
Step 4: Chill The Dough
Pop the dough into the refrigerator for an hour or freeze for 30 minutes. You want the dough to be cool and firm, making it easy to handle without turning into a sticky mess.
Step 5: Shape The Cookies
Roll the chilled dough into golf ball-sized rounds. Give each ball a luxurious coating in powdered sugar.
Arrange them on baking sheets with plenty of breathing room between cookies.
Step 6: Bake To Perfection
Slide the cookies into the oven and bake for 10-12 minutes.
Look for firm edges and centers that are still slightly soft and not shiny.
Step 7: Add The Grinch Heart
Right after pulling the cookies from the oven, press a jumbo heart-shaped sprinkle into the upper right corner of each cookie.
Do this while they’re piping hot so the sprinkle sticks.
Step 8: Cool Down
Let the cookies rest on the baking sheet for five minutes.
Then transfer them to a cooling rack where they’ll continue to set and become deliciously crisp.
Tips for Perfect Grinch Crinkle Cookies

Variations on Grinch Crinkle Cookies
Pairing Suggestions for Grinch Crinkle Cookies
Storage Tips for Grinch Crinkle Cookies
FAQs
Chilling the dough helps prevent spreading during baking and allows the flavors to meld together. It also makes the dough easier to handle and shape into perfect balls.
While the recipe works best with white cake mix, you can experiment with vanilla or yellow cake mix. Just ensure the base is light-colored to achieve the vibrant green color.
Look for firm edges and a slightly soft center. The cookies should not appear shiny when they come out of the oven. They will continue to set as they cool on the baking sheet.
Print
Grinch Crinkle Cookies Recipe
- Total Time: 1 hour 22 minutes
- Yield: 24 1x
Description
Grinch crinkle cookies deliver festive holiday cheer with their green-tinted, powdered sugar-dusted charm. These whimsical treats connect bakers to Christmas spirit through delightful colors and playful design.
Ingredients
- 1 package vanilla or yellow cake mix
- 1/2 cup (120 ml) vegetable oil
- 2 whole eggs
- Green food coloring (as needed)
- 1/2 cup (60 g) powdered sugar
- Jumbo heart-shaped sprinkles
Instructions
- Preheat the oven to 350°F and cover baking sheets with parchment paper for easy cookie removal.
- Combine cake mix, vegetable oil, and eggs in an electric mixer. Blend on medium speed for two minutes until the mixture becomes smooth and uniform.
- Add green food coloring and mix thoroughly until the dough achieves a consistent verdant hue.
- Refrigerate the dough for one hour or freeze for 30 minutes until firm and chilled.
- Shape the dough into golf ball-sized spheres, generously coating each in powdered sugar. Position the balls on prepared baking sheets with two inches of separation.
- Bake for 10-12 minutes, ensuring cookie edges are set while centers remain slightly soft and not glossy.
- Immediately after removing from the oven, press a jumbo heart-shaped sprinkle into the upper right corner of each warm cookie to create the signature Grinch-inspired detail.
- Let cookies rest on the baking sheet for five minutes, then transfer to a cooling rack to complete the setting process.
Notes
- Customize the green color intensity by gradually adding food coloring, ensuring a vibrant Grinch-like hue that matches your preference.
- Chilling the dough is crucial for preventing sticky texture and helping cookies maintain their shape during baking.
- Prevent excessive spreading by spacing cookies at least two inches apart and using cool, firm dough straight from refrigeration.
- For dietary modifications, substitute vegetable oil with applesauce or use gluten-free cake mix to accommodate various nutritional needs.
- Prep Time: 1 hour 10 minutes
- Cook Time: 12 minutes
- Category: Desserts, Snacks
- Method: Baking
- Cuisine: American
Nutrition
- Serving Size: 24
- Calories: 137 kcal
- Sugar: 9 g
- Sodium: 120 mg
- Fat: 7 g
- Saturated Fat: 1 g
- Unsaturated Fat: 6 g
- Trans Fat: 0 g
- Carbohydrates: 18 g
- Fiber: 0.5 g
- Protein: 2 g
- Cholesterol: 27 mg
Clara Bennett
Contributing Recipe Developer & Food Writer
Expertise
Baking and Pastry Development, Gluten-Free and Allergy-Friendly Recipe Creation, Culinary Storytelling and Food Journalism, Recipe Testing and Standardization, Southern Comfort Foods and Modern Twists
Education
Sullivan University – National Center for Hospitality Studies
Associate Degree in Culinary Arts
Focus: Baking and Pastry Arts, Recipe Testing, and Culinary Journalism.
Clara specialized in crafting desserts that blend classic Southern comfort with modern techniques, while developing strong writing skills to tell the story behind every dish.
Lane Community College (Certificate Program)
Certificate in Food Writing and Photography
Focus: Culinary storytelling, recipe formatting, food styling, and visual presentation.
Clara’s love of baking started young, powered by homemade pies, biscuits, and stories passed around the family table.
After earning her degree at Sullivan University and a food writing certificate at Lane Community College, she turned her passion into a craft: sharing recipes that are simple, soulful, and always full of heart.
She’s big on bold flavors, flexible ideas, and creating sweets that fit any table (yes, even if you’re gluten-free). When she’s not baking, you’ll find her wandering farmers’ markets, styling food for the next photo shoot, or working on her ever-growing recipe journal.